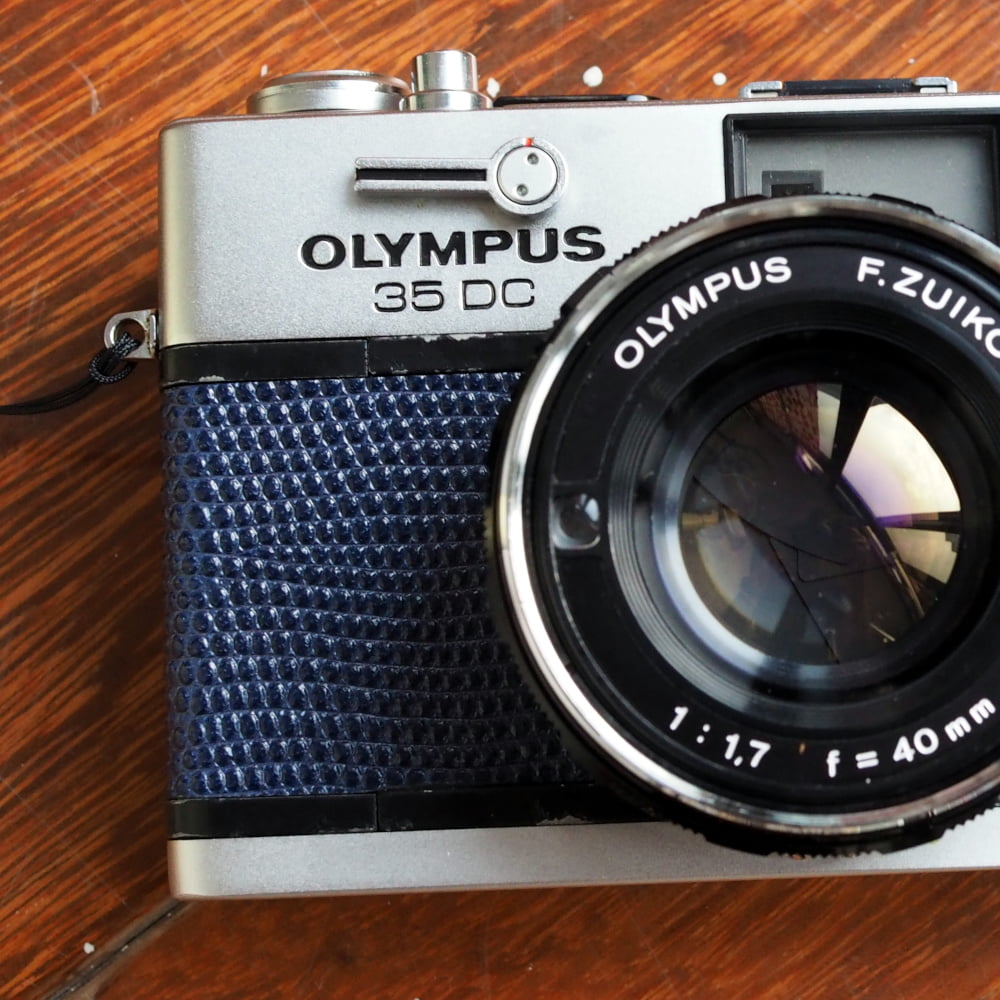
A few weeks ago, I noticed that my beloved Olympus 35DC had developed some serious light leaks. Upon closer inspection, I discovered that the foam light seals had completely deteriorated. It was time for a refresh. Along with replacing the light seals, I decided to give the camera a new look by swapping out the old leatherette, which had begun to peel at the corners.
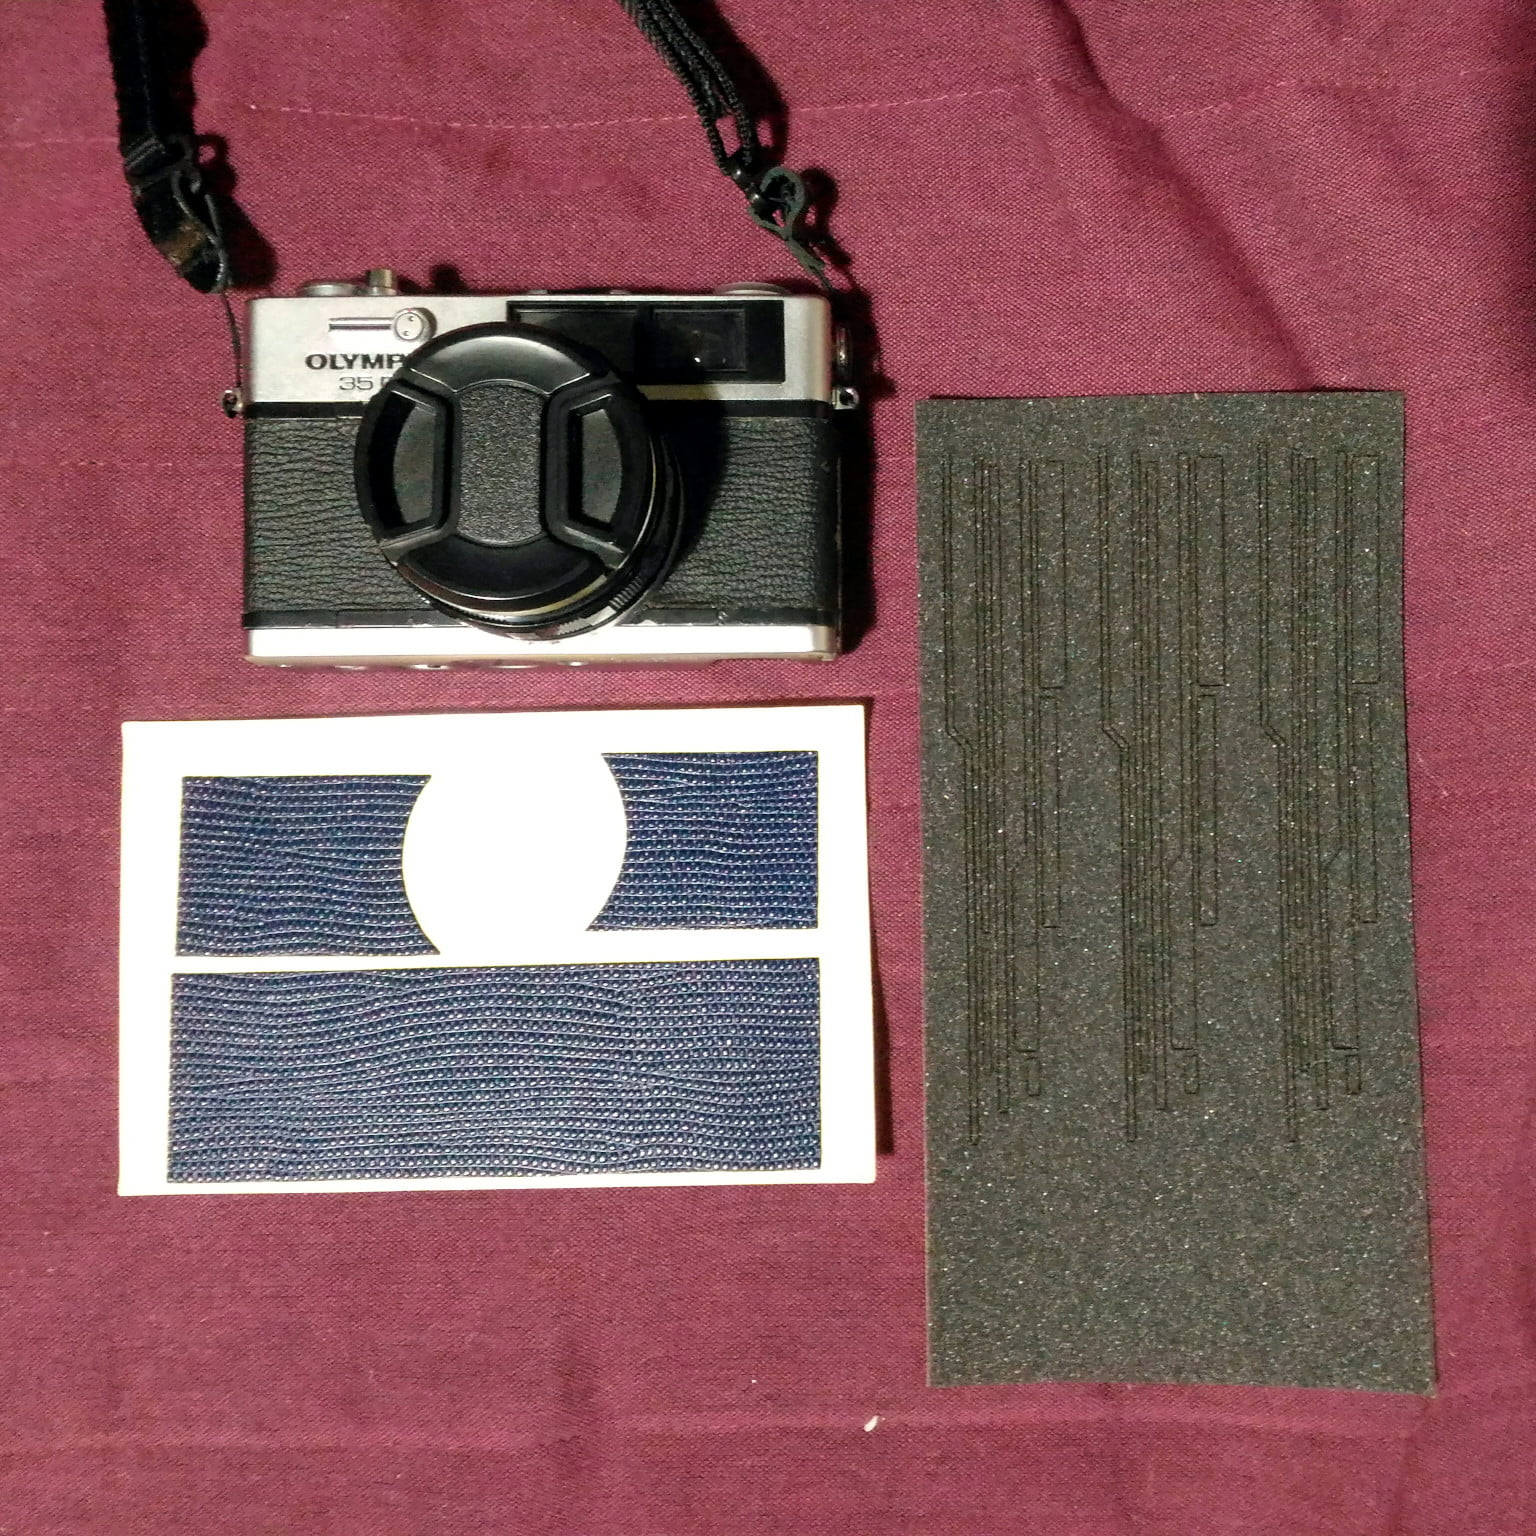
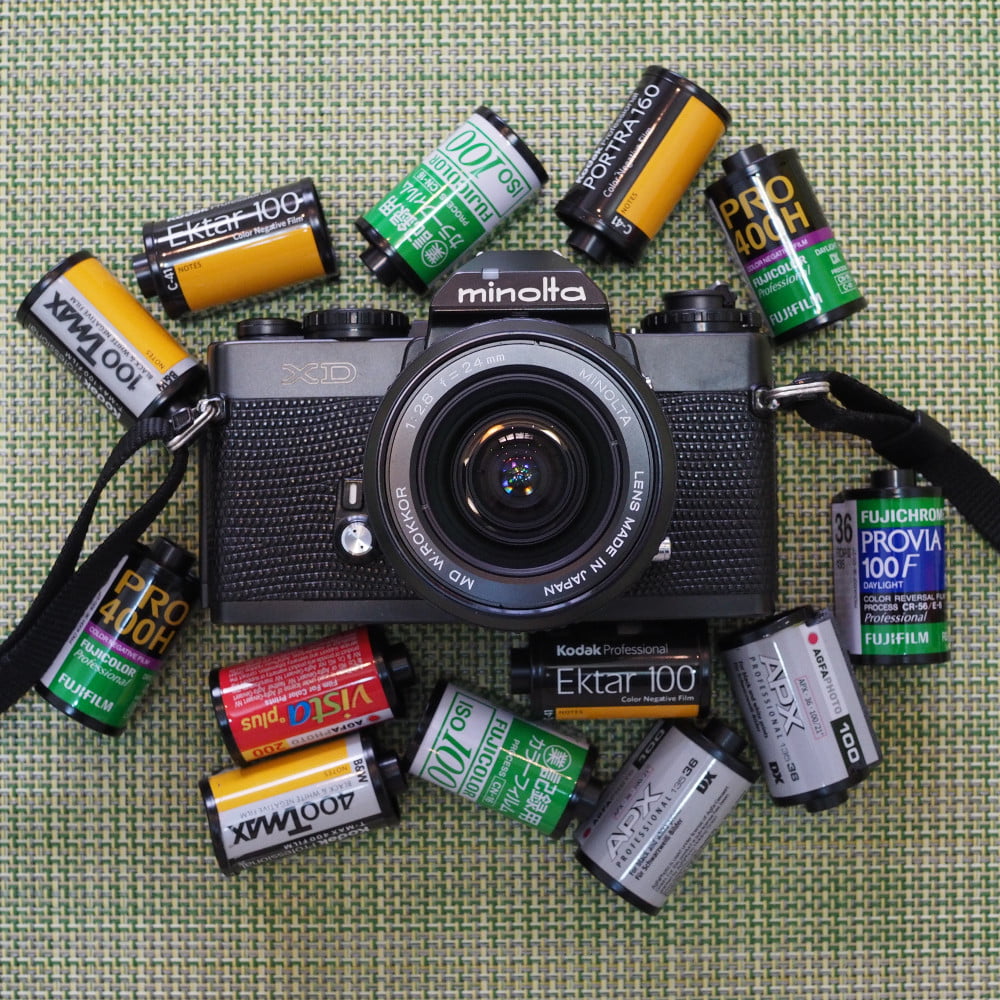
I turned to Aki-Asahi Custom Camera Coverings in Japan, a trusted source from which I previously ordered leatherette for my Minolta XD. I was impressed with their quality and service, so I knew I could rely on them again. This time, however, I opted for something different. Rather than sticking with the traditional black, I chose a more elegant navy blue. The shipment arrived promptly, and everything was carefully packed.
A few years ago, I had the leatherette on my Minolta XD replaced by a repair shop. It wasn’t the best experience. The service was pricey for Taiwan (around 1000 NT$, or roughly 30 Euros), and they even caused some damage to the camera. This time, I decided to save the money, avoid the hassle, and try my hand at it myself. Fortunately, replacing the leatherette on the 35DC is straightforward, as there are no parts that need to be removed from the camera—unlike the more complex Minolta XD.
The first step was to remove the old leatherette, which came off easily since the adhesive had lost its grip. I used ethanol to clean off the remaining glue residue and any grease from the surface, preparing it for the new leatherette. Seeing the camera’s bare metal was quite interesting, revealing hidden screws and openings that likely serve as adjustment points for various functions.
One great feature of Aki-Asahi’s service is that they include an extra set of leatherette for practice. This was incredibly helpful, as it allowed me to familiarize myself with the process. While applying the new leatherette is relatively easy, it requires precision from the outset. The adhesive is very sticky, and repositioning the leatherette after initial contact is nearly impossible. During my practice run, a small portion of the adhesive layer tore off and stuck to the camera body—fortunately, this was just the test leatherette. The practice set also helped me identify the correct positioning of the front pieces, as the left and right sides are slightly different in size, and the cut around the lens is asymmetrical.

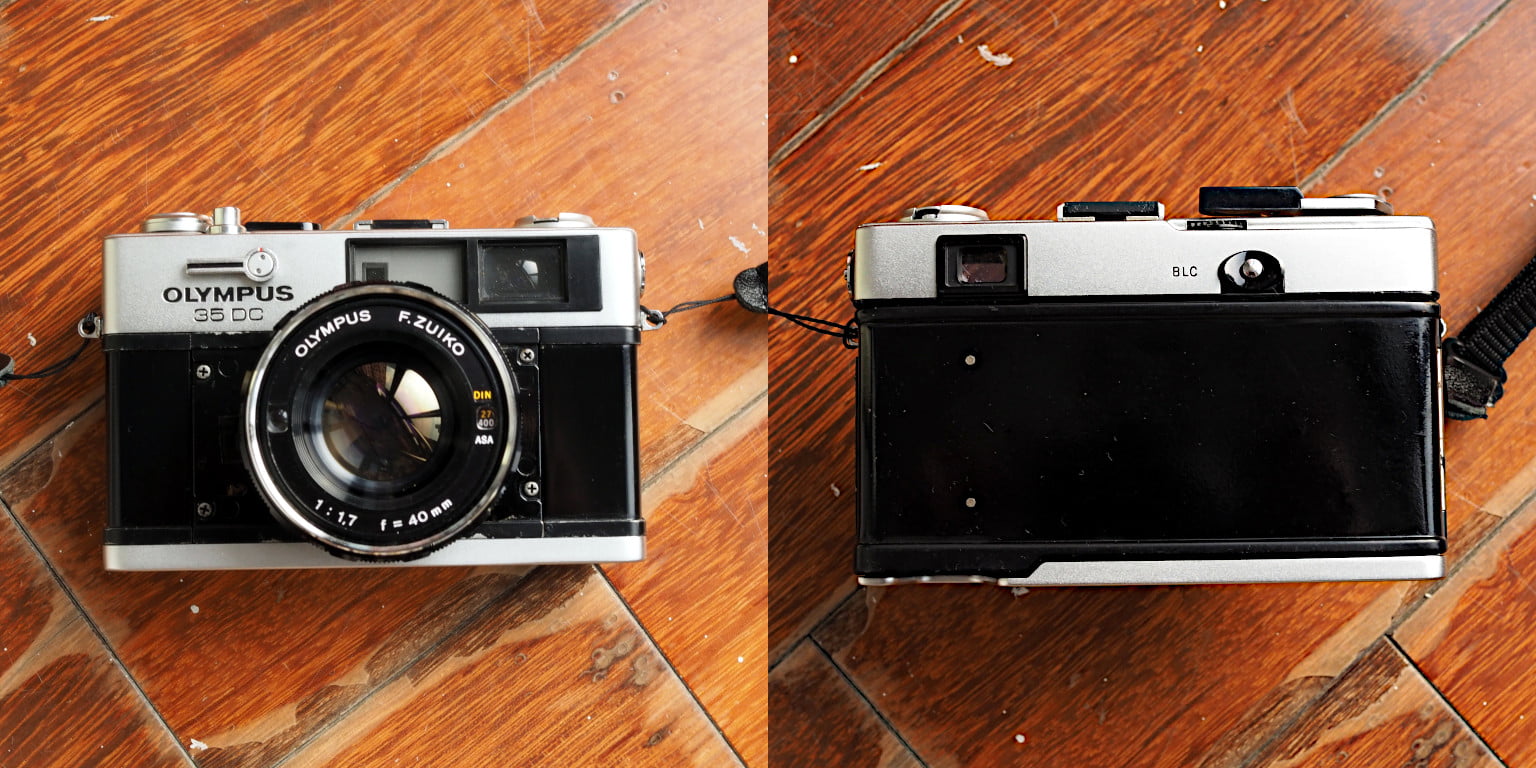
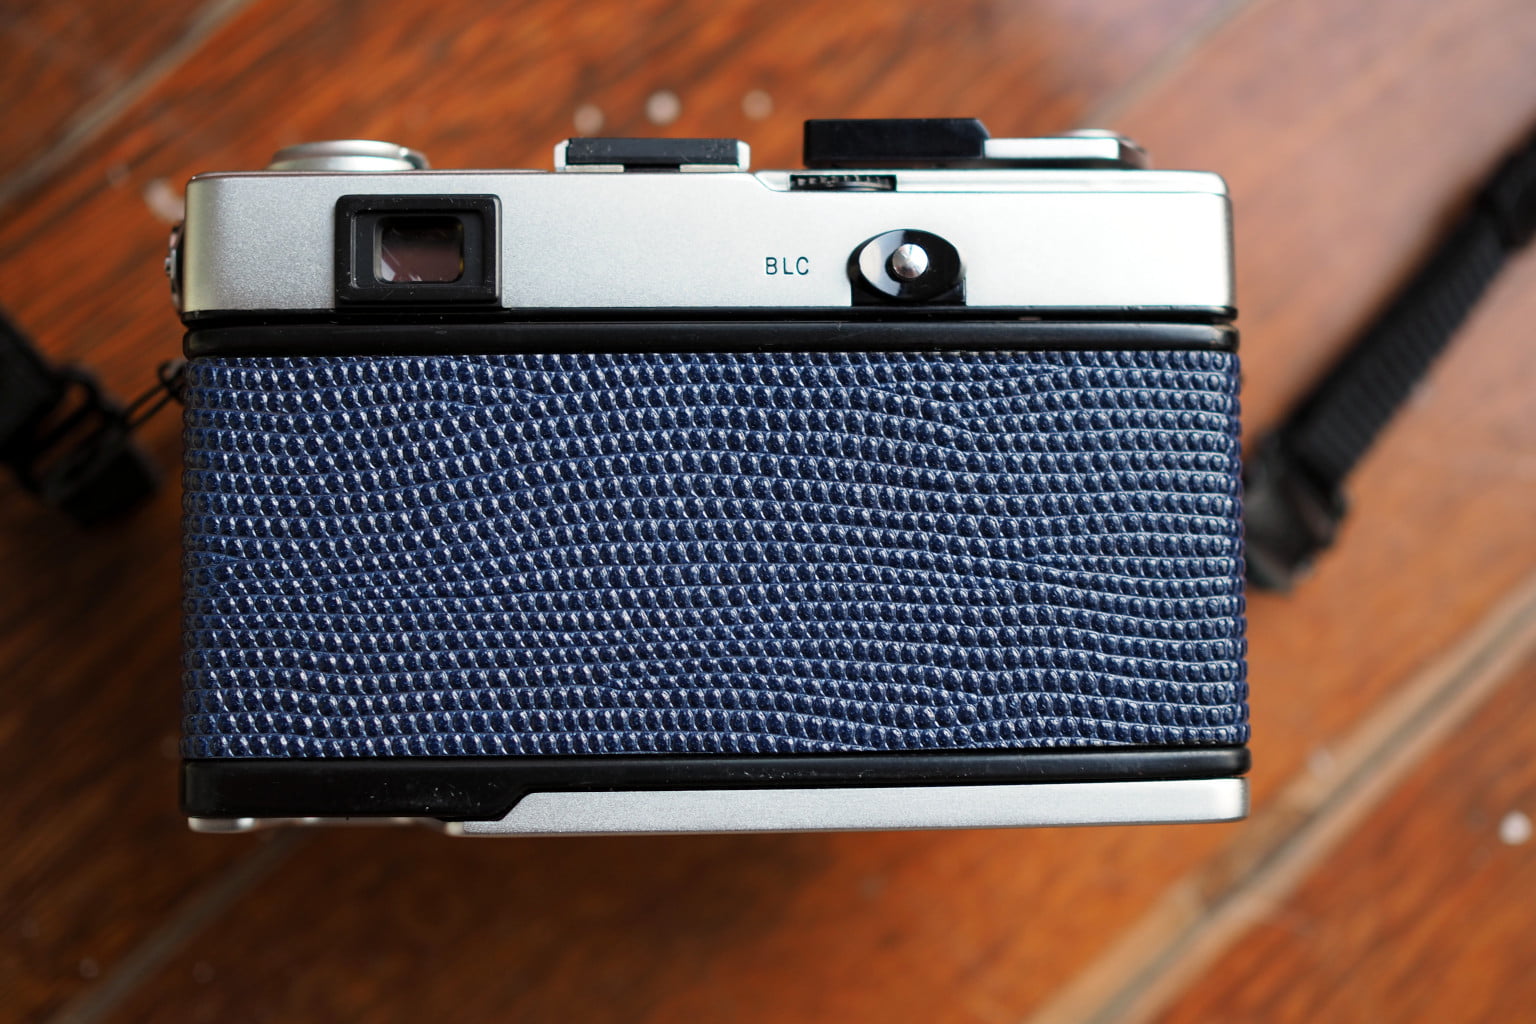
After practicing with the test leatherette, I felt confident enough to apply the new navy blue leatherette. The application was quick and straightforward, especially with the help of tweezers to press down the material around the lens. The result was stunning—the navy blue complements the camera beautifully.

The final step was to install the new light seals. Removing the remnants of the old seals and glue was challenging; the residue was so old and sticky that some of it wouldn’t come off completely. However, the surface was clean enough for the new seals to adhere properly. Aki-Asahi’s website provides clear instructions on where each foam piece belongs. I was surprised by the number of different pieces involved. While the larger pieces were easy to apply, the very thin (about 0.5 mm thick) and long foam strips that fit into the indentations of the body were more challenging. Because the adhesive covers the entire backside of the foam, it would often get stuck to the sides before I could properly position it. It took some effort, but I managed to get it in place, albeit not perfectly. However, even a less-than-perfect light seal is far better than the completely deteriorated ones I had before. After installing the new seals, I noticed that the film door had no play and required more force to close, indicating a tight seal.
After completing the installation and testing the camera, I’m pleased to report that it now works perfectly. You can see photos taken with the new light seals here.
If you like this content and don’t want to miss new blog posts, consider subscribing to our newsletter!
Hi Alex,
Nice writing and inspiring! I hav one tip for applying the light seals: you should wet the sticky sight of the foam before application. Several fluids are recommended, but I simply use saliva! It gives you time to get the foam in position before it sticks.
Regards, Wim
Hi Win, Thank you for the nice comment and good advice. I will keep it in mind for next time when changing light seals.