Update (September 2017): I’ve shared additional thoughts and new photos using Kodak Vision3 250D. You can check them out here.
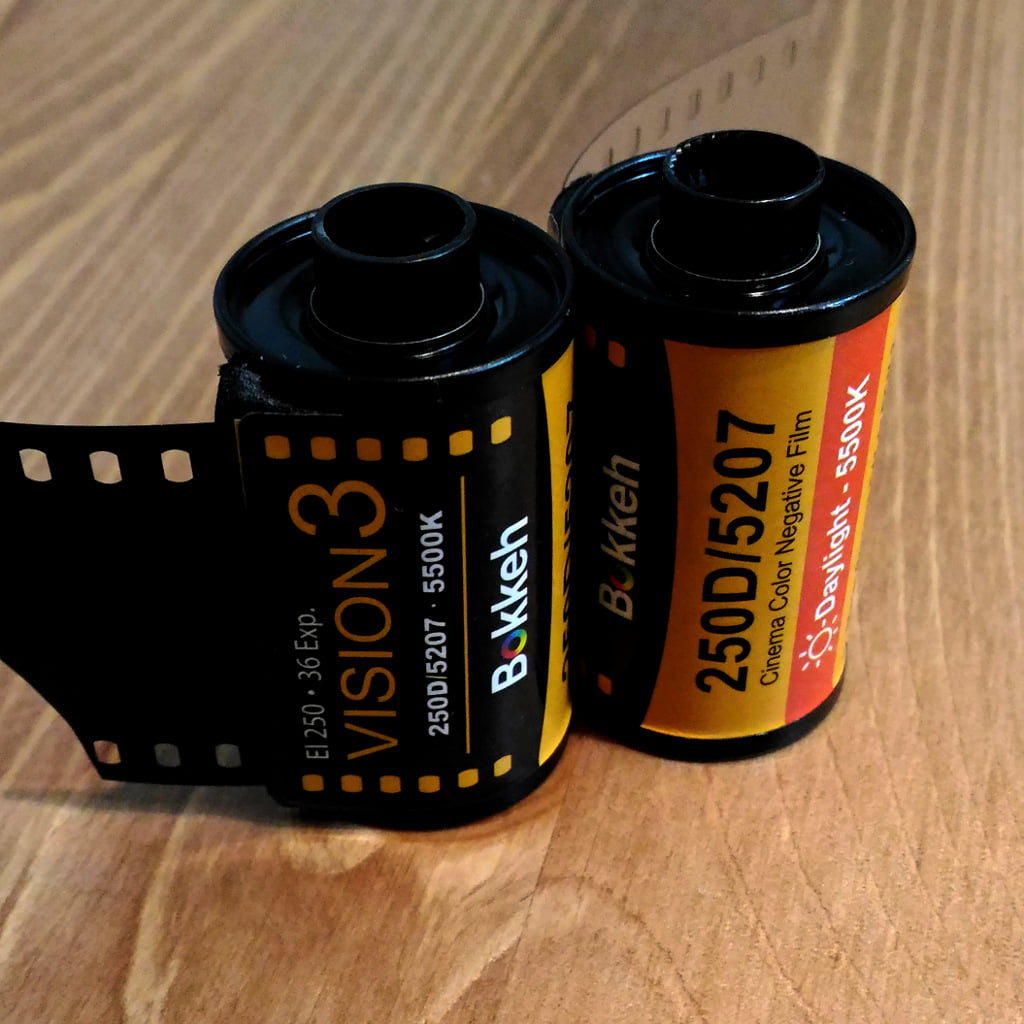
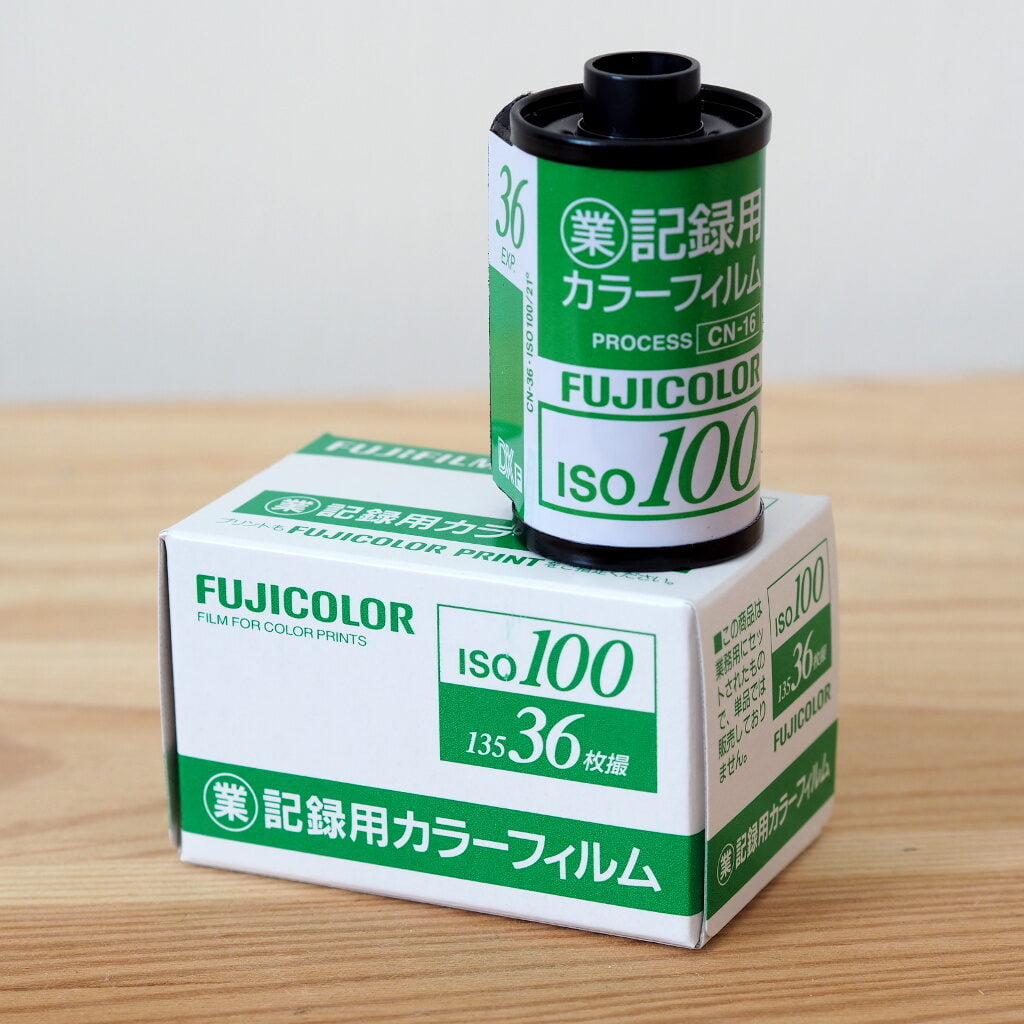
Kodak Vision3 is a negative film originally designed for motion pictures. The Taiwanese company Bokkeh repackages these original film rolls into 35mm cartridges, making them compatible with photographic cameras. In addition to various Kodak cinema films, Bokkeh also offers Fujifilm options. You can explore their offerings on this website (link in Chinese).

About a year ago, I tested Fujicolor Reala 500D, but the results were underwhelming, possibly because the film was expired. This time, I did more thorough research and found that Kodak is still producing the Vision3 films. I decided to give it a try, hoping the film in the cartridge was fresh.
Costs of Kodak Vision3 in Taiwan
Fortunately, Kodak Vision3 is quite affordable in Taiwan. A single roll costs only 100 NT$ (about 3 €), making it much cheaper than regular color negative film. However, the film requires processing at a special lab to remove the rem-jet layer, which can be a bit of a hassle. For me, it took a week to get the negatives back, which is considerably longer than the typical one-hour turnaround for regular film. Additionally, the development costs are double those of standard film. Despite this, the overall cost is still lower than buying and processing regular film, making Kodak Vision3 an intriguing alternative.
Below is a table detailing the costs I encountered.
| Kodak Vision3 250D | Kodak Ektar 100 | |
|---|---|---|
| Price in Taiwan* | 100 NT$ (~3.00 €) | 250 NT$ (~7.40 €) |
| Developing (no scanning) | 130 NT$ (~3.80 €) | 60 NT$ (~1.80 €) |
| Total costs | 230 NT$ (~6.80 €) | 310 NT$ (~9.20 €) |
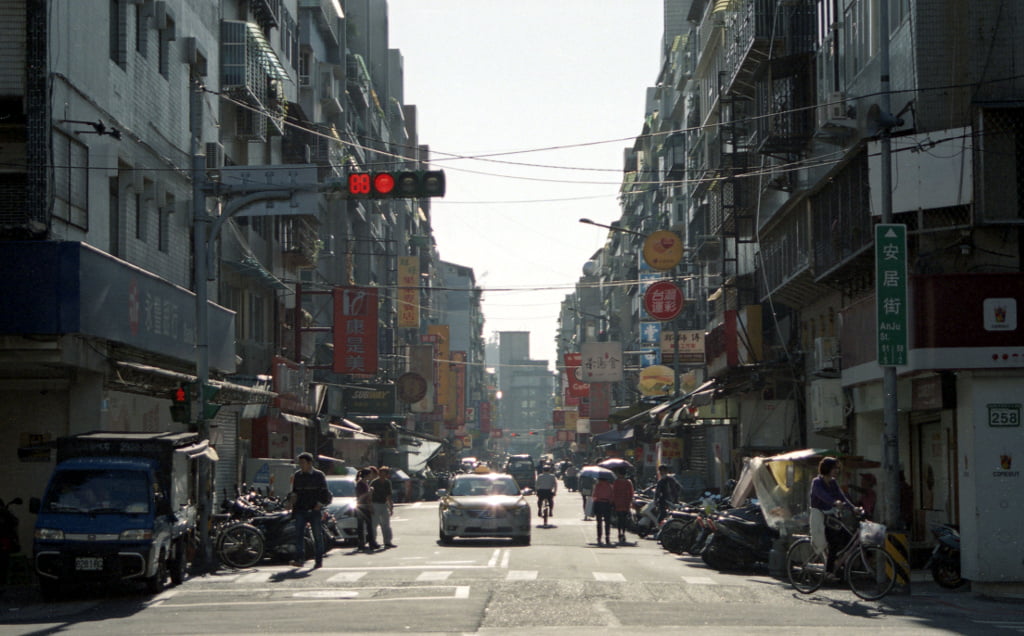
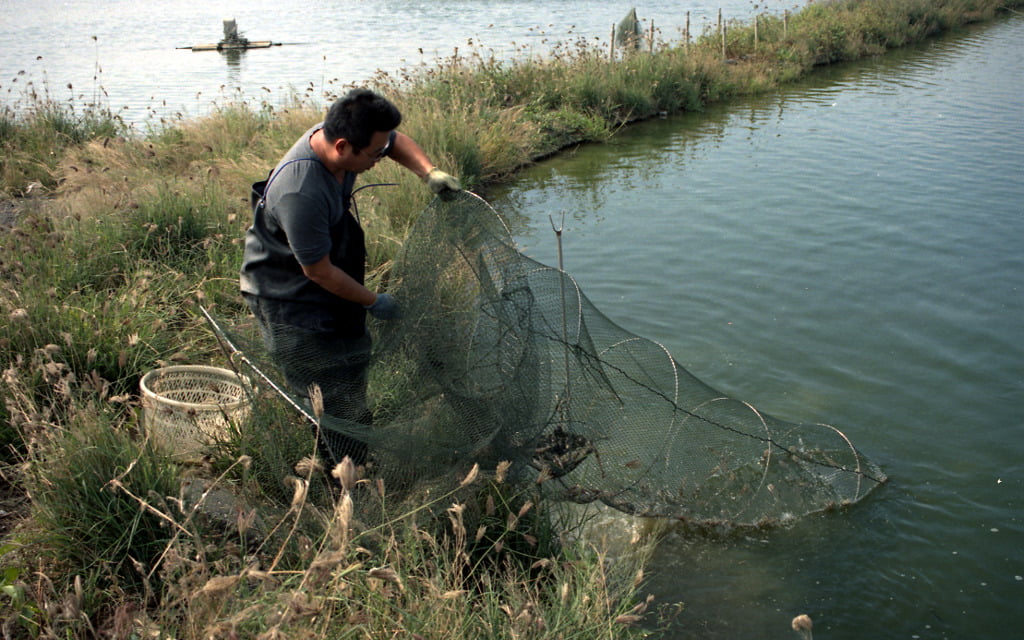
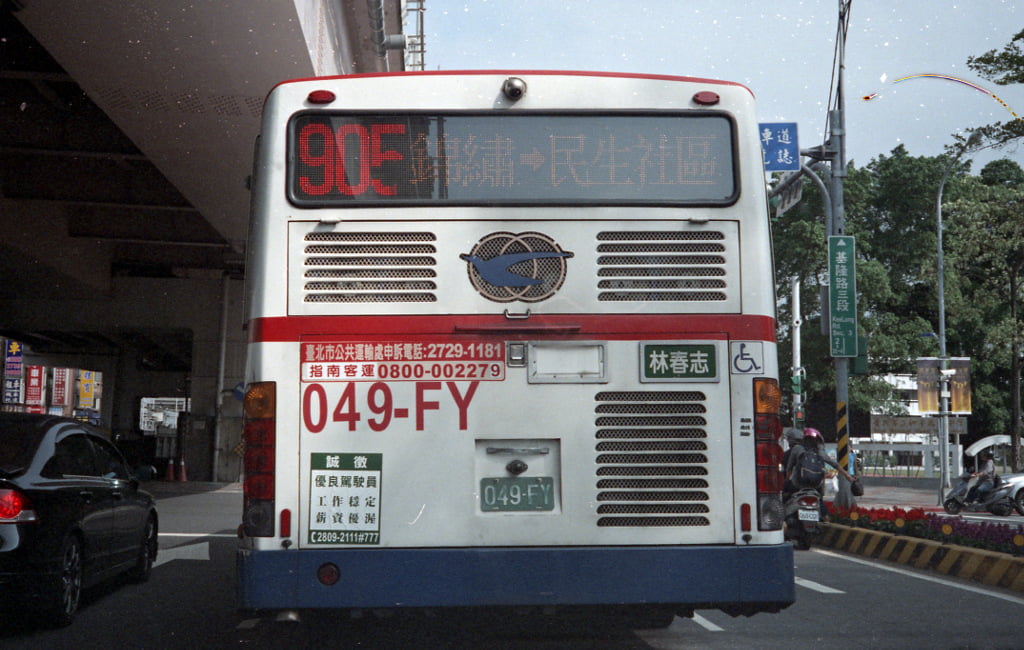
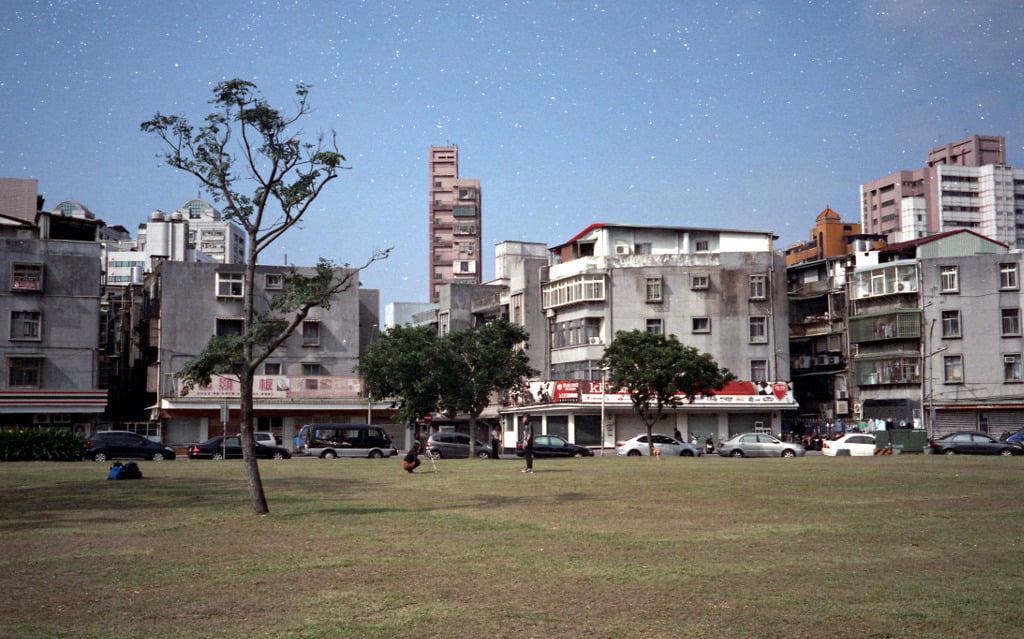
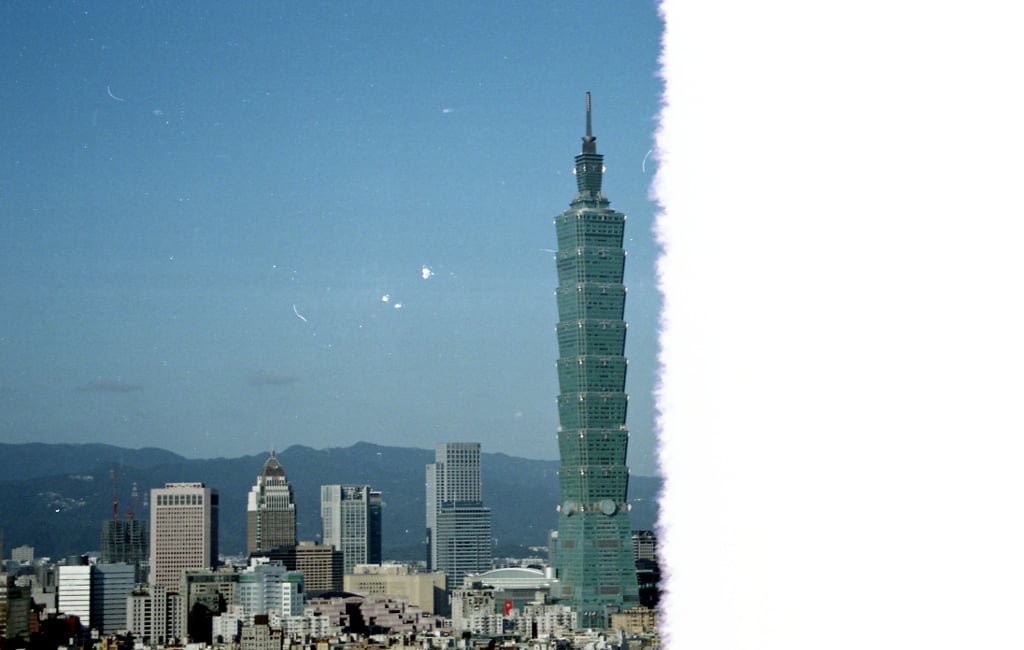
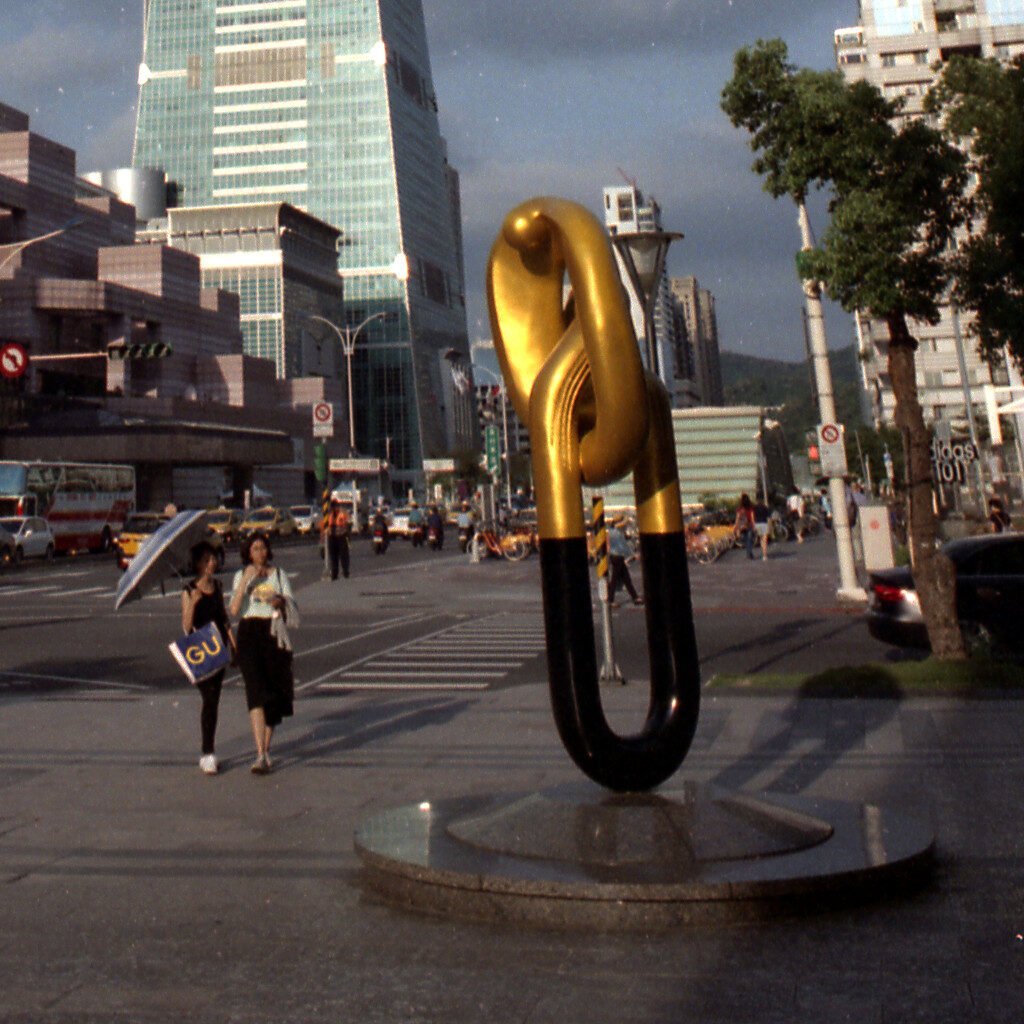
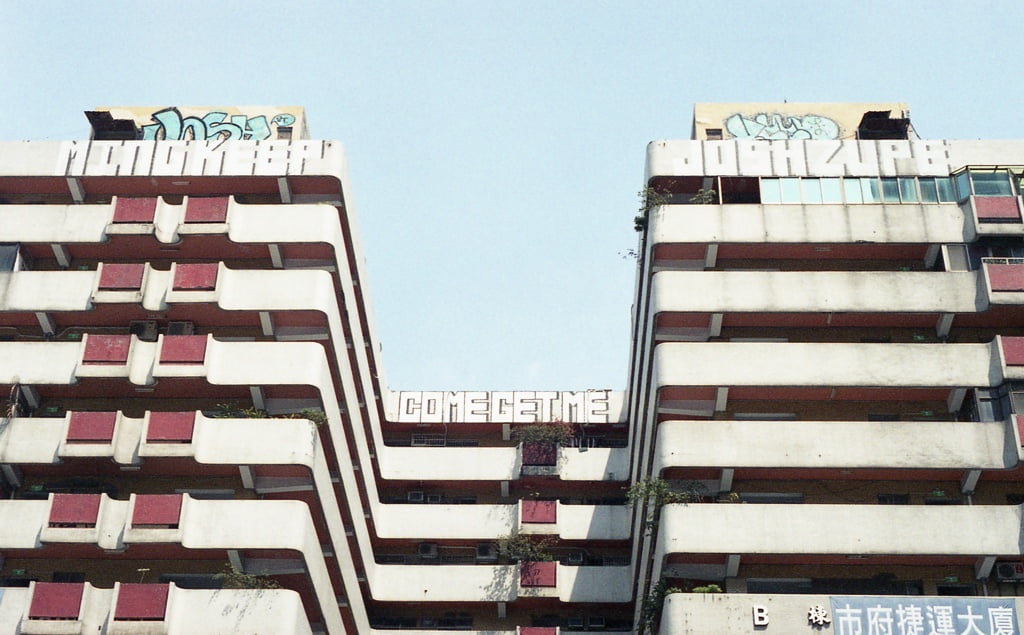
For this test, I used two rolls of film in two different cameras (Olympus 35DC and Minolta Dynax 505si Super). Most of the photos were taken on sunny days, with a few captured on cloudy or rainy days.
I previously shared some additional photos in an earlier post, which you can view here.
Image Quality
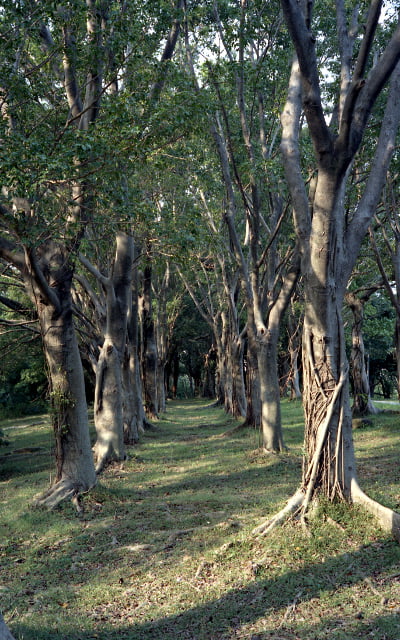
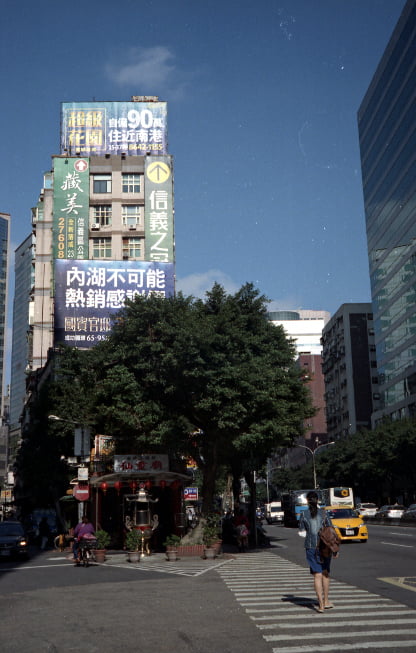
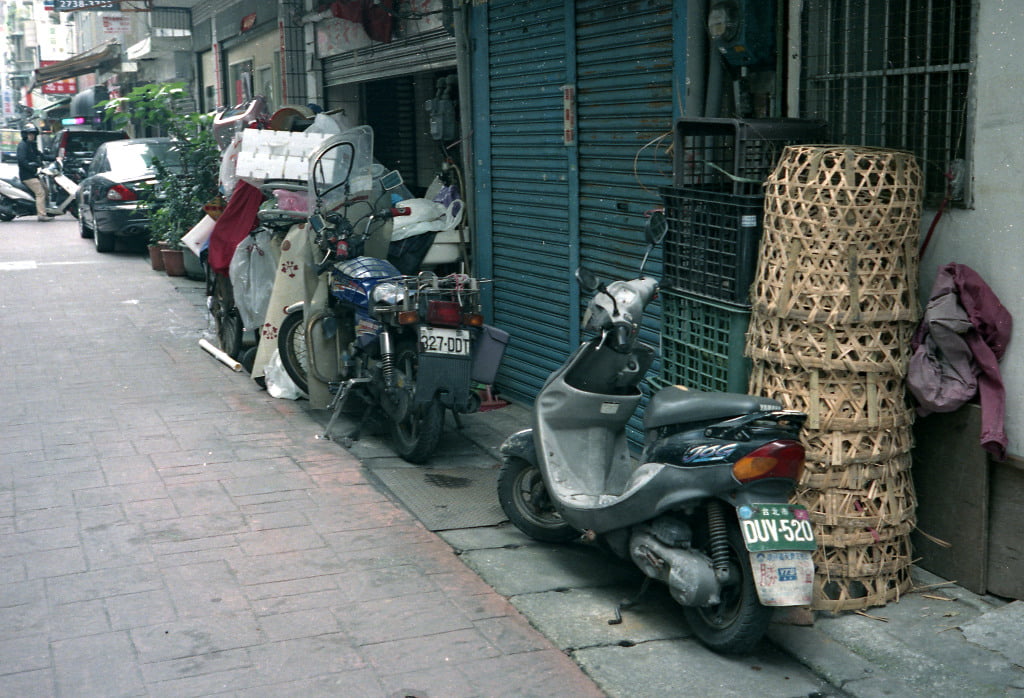
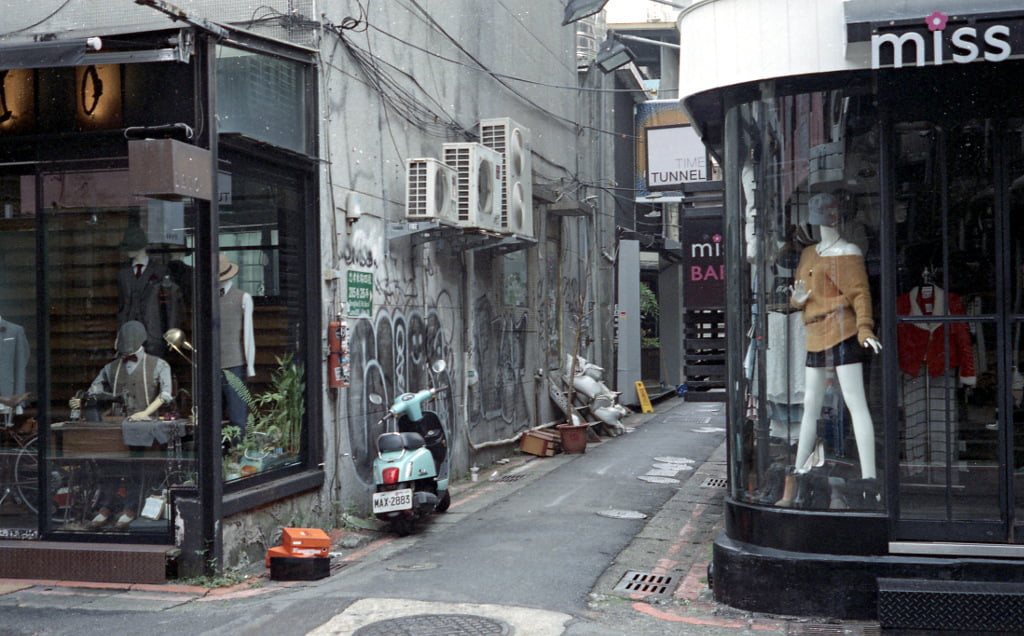
The results were quite pleasing. The film is very fine-grained, and when exposed correctly, the grain is hardly noticeable. However, if underexposed, the grain becomes much more prominent.
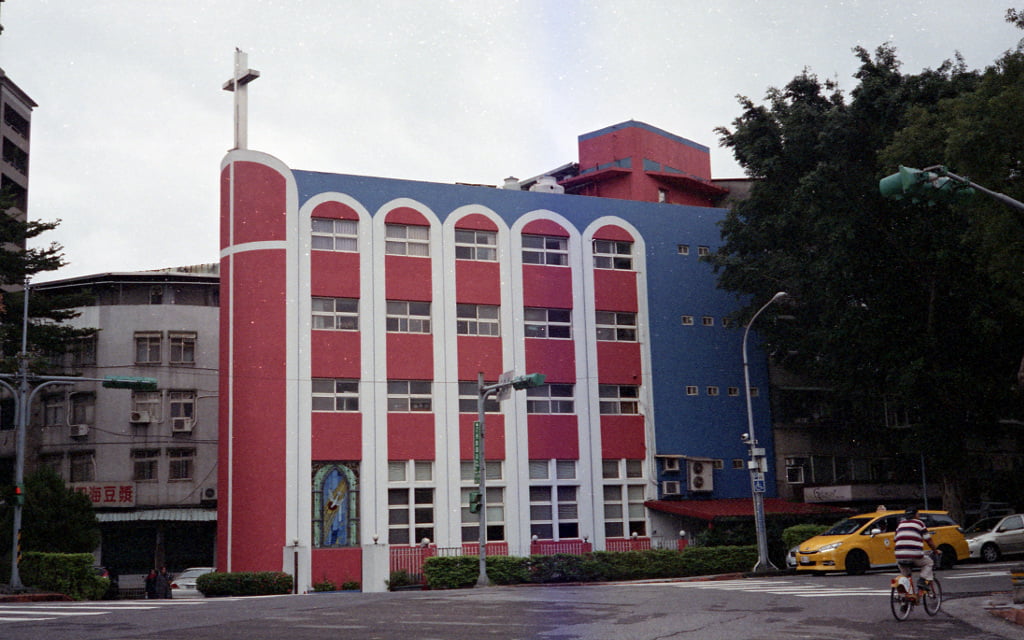
One aspect I particularly appreciate is the accurate and well-balanced color reproduction. The colors are neither oversaturated nor muted—they strike a perfect balance for my taste. No single color dominates the scene, and on a bright, sunny day, the colors are vibrant and impressive. However, the downside is that on a gray and rainy day, the colors tend to look dull and muted.
Drawbacks of Using Kodak Vision3
Unfortunately, there were some drawbacks with this film. I’m not entirely sure what caused some of these issues.
Damaged Frames
Two frames were damaged, showing a brownish crescent-shaped mark.

Problems with Rem-Jet Layer Removal
Most of the frames were plagued by white speckles, particularly noticeable in the blue sky. While less obvious in other parts of the image, the speckles were still present. I’m confident this isn’t dust from scanning, as I didn’t encounter this issue with other negatives before or after. Some of the speckles might be dust on the negative or the scanner’s glass plate, but I suspect the rem-jet layer removal wasn’t done properly. With some post-processing effort, the speckles can be removed, especially from uniform areas like the sky.
Lost Frames Due to Pre-Exposure
Another slight annoyance is that the company packs just enough film for 36 exposures, but it’s challenging to get all 36 usable shots. Typically, the first two or three frames are lost during film loading.

Additionally, the last two frames were already exposed during bulk loading, resulting in lost images. The last frame was completely lost, and about one-third of the next-to-last frame was pre-exposed, leaving me with only two-thirds of the image.


Since this occurred with both rolls of film and the patterns were similar, I believe this is a common issue. Now I understand that this is more of a 34-exposure film, or even less. To be safe, it’s better to avoid exposing the last two frames.
Pros
- Affordable
- Fine-grained
- Excellent color reproduction
Cons
- Requires processing at a special lab to remove the rem-jet layer
- No information about the film’s expiration date
- Bulk loading results in fewer usable frames than stated
Conclusions on Kodak Vision3 Cinema Film
Kodak Vision3 is an interesting alternative to standard photographic film. I’m impressed with its color reproduction, especially in bright sunlight. The colors are well-balanced, saturated, and still look natural. For an ISO 250 film, the grain is very fine. However, the film also has some drawbacks, which should be considered. If you can accept these limitations, this film can be a fun choice. But if you’re looking for consistency and reliability, regular photographic film might be a better option. Despite the drawbacks and the ‘quality lottery,’ I’ve ordered two more rolls and am eagerly waiting for summer to explore the colors of this film further.
Enjoyed this article? You can get early access to my maps, blog posts, and exclusive content by becoming a supporter on Ko-fi. I also share updates and insights on Facebook, post photography and snapshots on Instagram (@eyes_on_taiwan), and showcase maps and Taiwan data on Instagram (@taiwan.maps.dataviz). You’ll also find me on Threads and Bluesky, where I share new maps and links to blog articles. Looking forward to connecting with you!
If you like this content and don’t want to miss new blog posts, consider subscribing to our newsletter!
My first-time experience with VISION3 250D Color Negative Film was not a positive one. I sent my film (US$10) off to a lab for ECN-2 processing and scanning (US$30), and as you can see from the link, the results were sub-par. There is a colour cast on skin tones that I can’t explain.
Perhaps there is a problem with my Minolta XD-11?
https://islandinthenet.com/ironbound-farm/#KodakVision3250D
Hello Khürt, thank you for sharing your thoughts and your images. To me they look okay, but a little bit underexposed. Did you received the scanned negatives like this or did you get them scanned with a flat color profile and you had to adjust the colors by yourself? The color cast in the skin tones could also be a result of post processing of the scanned negatives.
Hi Alex, the film was developed and scanned by Old School Photo Lab. I increased the exposure slightly in Lightroom but left everthing else the way it was scanned.
https://oldschoolphotolab.com
That first roll was exposed in May over a few cloudy days but uou may be right. The light-meter in the XD-11 may be off. I plan on shooting my second roll in my Minolta X-700 for comparison.
I will also try a Boutique Photo Lab.
https://www.boutiquefilmlab.com/cart/
I don’t have any local choices for developing this film.
Hi Khürt, finding a lab that is able to properly develop the film is the biggest challenge. This is the reason why I stopped using any cinema film with remjet layer. The labs in my area were not able to develop them properly. I hope you will find a good lab that produces good negatives and scans and you can enjoy using this film.
Hi!
I wanted to ask about the ISO when using this film. What would you recommend for a beginner?
I used ISO 250. But it has been a long time since I used this film, so I don’t remember if that was an ideal setting or not. You can also play around with different ISO settings and with slight overexposure to see what gives the best results.